

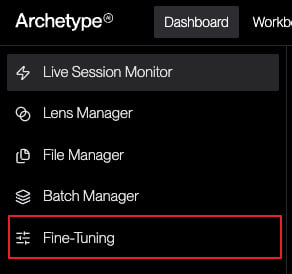
Creating a Fine-Tuning Job
Upon choosing the Fine-Tuning dashboard option in the sidebar, the Create Fine-Tuning Job modal appears.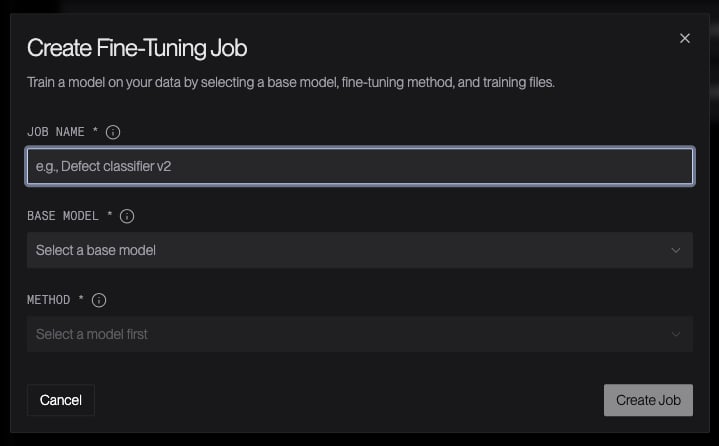
Specifying Training and Validation Files
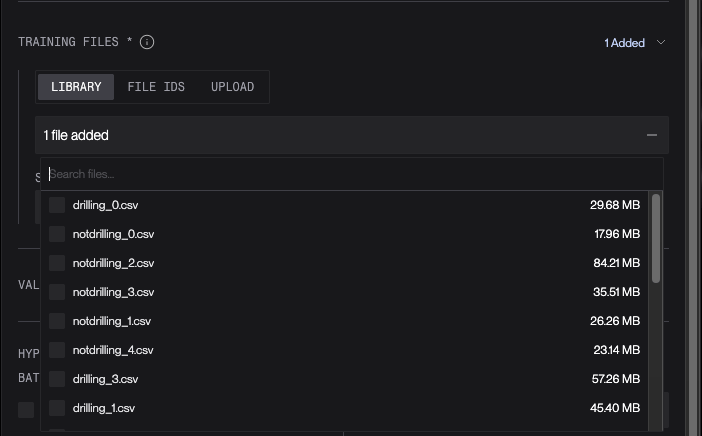
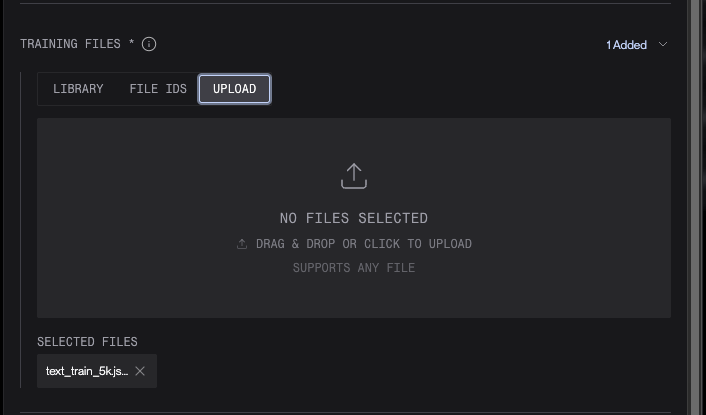
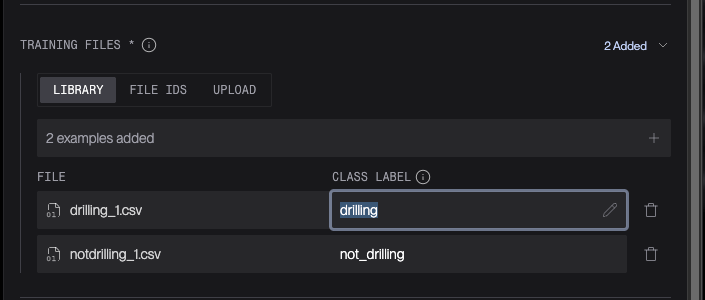
Specifying training files for the fine-tuning job is done similarly to specifying files anywhere in the Archetype Console: you can provide files in one of three ways:- By selecting files already present in your library of files
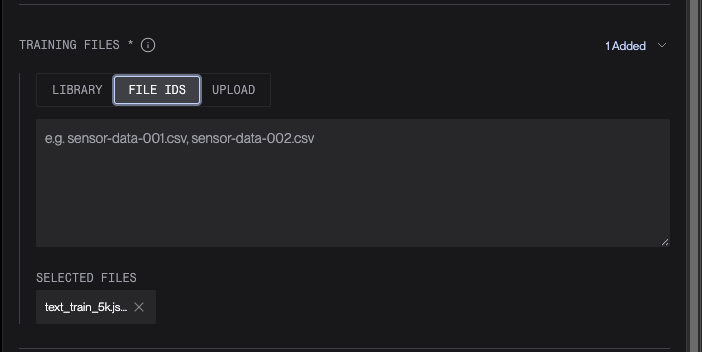
- By entering the file IDs (file names) of existing files in your library
- By uploading new files to your library; doing so automatically adds them to the selected files list as well as adding them to your file library
- Library
- File IDs
- Upload
Specifying Hyperparameters
The exact hyperparameters available may vary depending on the base model and/or adaptation method you selected. To learn more about a given hyperparameter, highlight the icon next to its name to see a tooltip describing the hyperparameter. All hyperparameters assume an automatic default value, but you can adjust fine-tuning by setting particular values that suit your use case and input data. To specify a custom value for a hyperparameter, first check the Custom checkbox next to the hyperparameter’s value input box, then enter the custom value for the hyperparameter.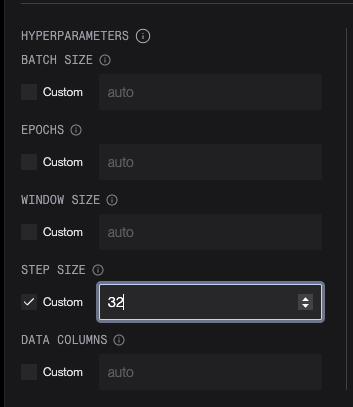
32 is specified for the Step Size hyperparameter.
Advanced Settings
Finally, review the available advanced settings to see if there are any you need to set up. These are all optional. The advanced settings are:
For more information about these advanced settings, or for information about advanced settings
not listed above, highlight the icon next to the setting’s name to
see a descriptive tooltip.
Once all settings are configured, click the Create Job button to create the job and enqueue
it to be run.
Monitoring a Fine-Tuning Job
To see a list of existing fine-tuning jobs and their current statuses, click Fine-Tuning in the Developer Console dashboard’s sidebar.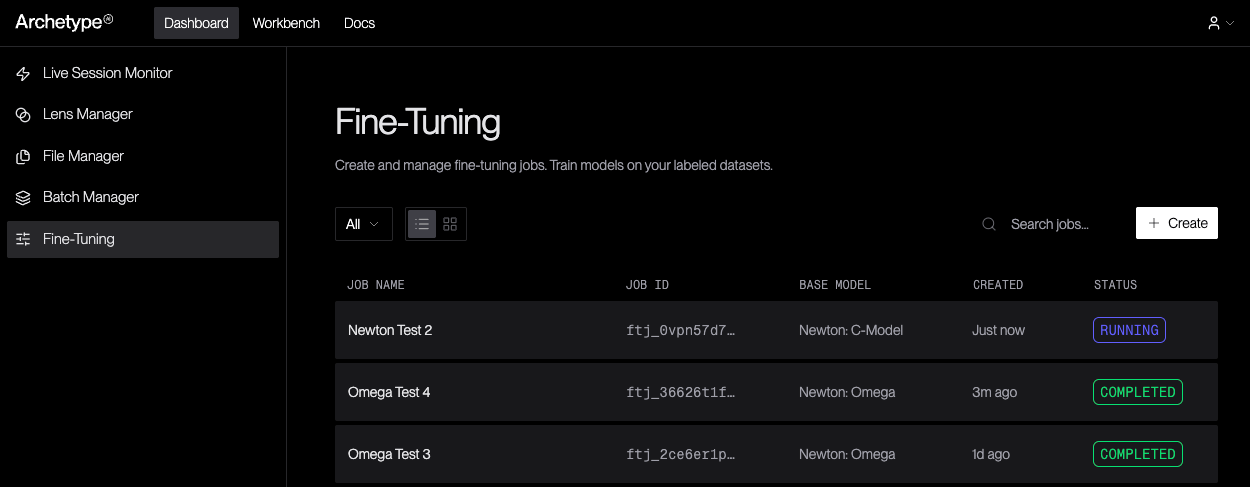

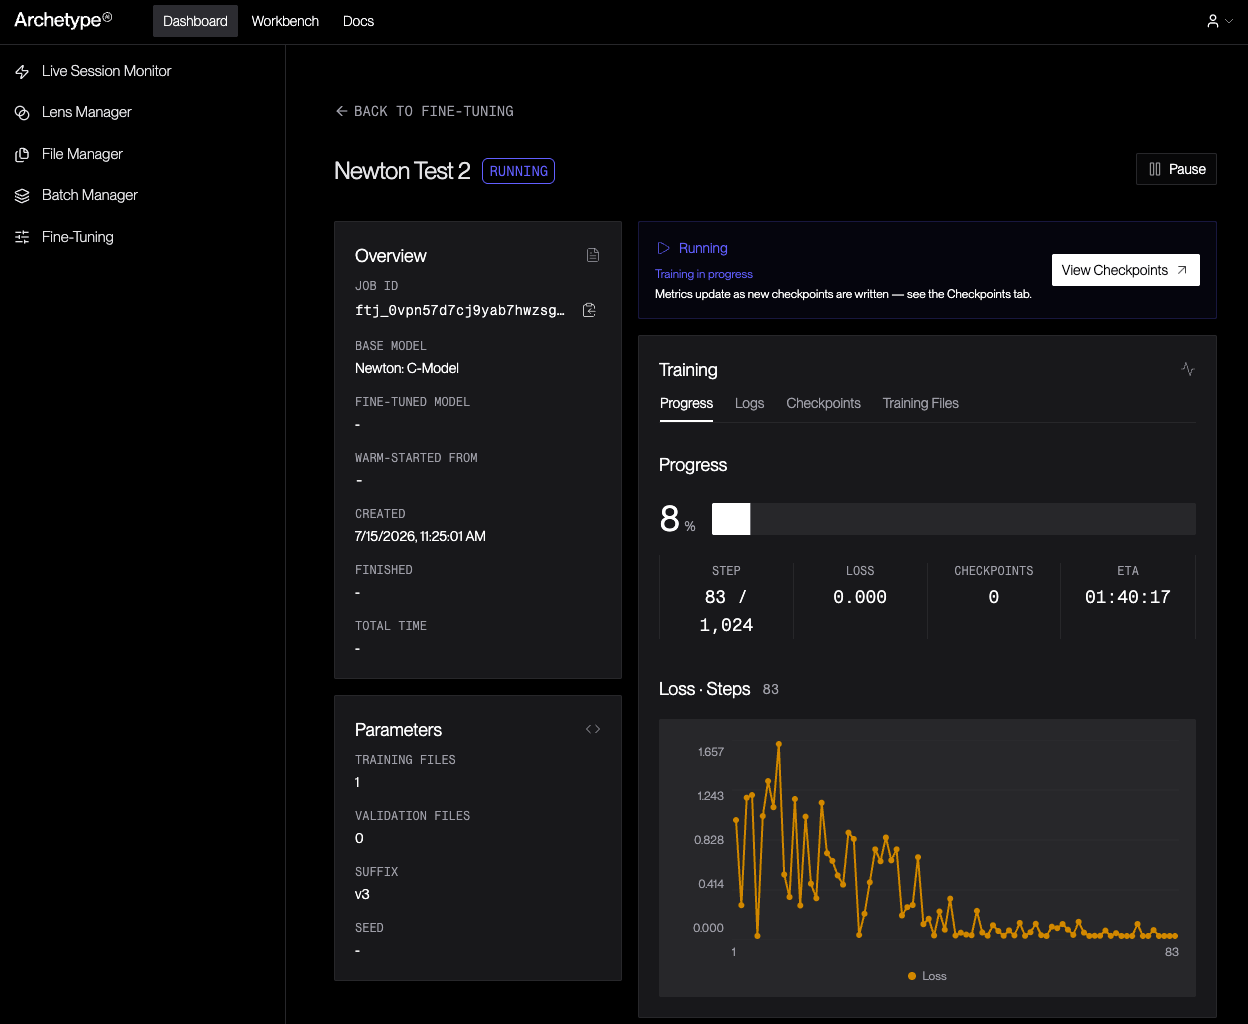
- The job ID
- The base model on which the fine-tuned model will be based
- The ID of the fine-tuned model (available only once the fine-tuning job has successfully completed)
- The checkpoint ID from which the job was warm-started
- The starting timestamp
- The ending timestamp (available only once the job has completed)
- The total amount of time the job took to run (available only once the job has completed)
- The number of training files specified
- The number of validation files specified
- The suffix that will be applied to the new fine-tuned model’s name
- The random number seed that was specified, if any
- Progress
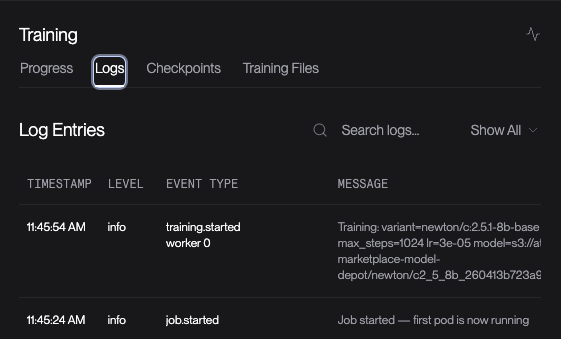
- Logs
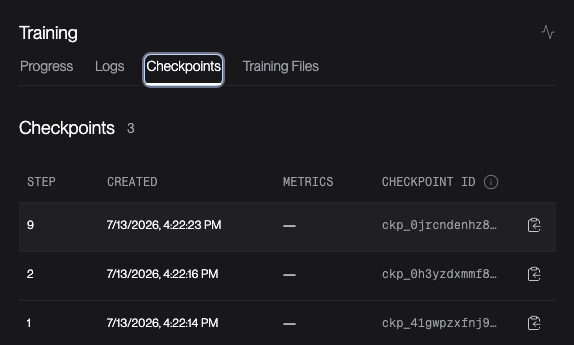
- Checkpoints
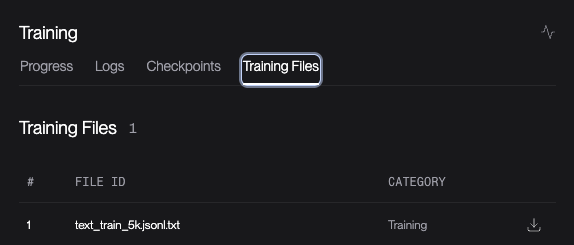
- Training Files
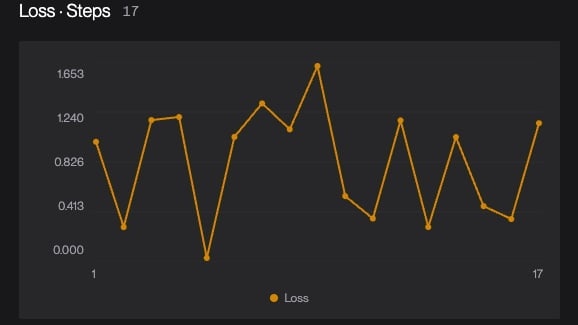
The Progress tab displays progress information about the fine-tuning job, including
the percentage of the job that is complete, the step that was last completed, the loss,
the number of checkpoints that have been saved, and the estimated time remaining for the job.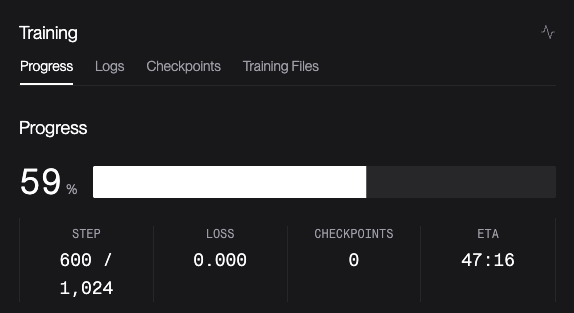
Pausing and Resuming a Fine-Tuning Job
To pause a fine-tuning job, open its details view. At the top of the view, to the right of the fine-tuning job’s name and status, is the Pause button.
Using a Fine-Tuned Model
Once fine-tuning has completed, open the Checkpoints tab in the fine-tuning job’s screen, then click the clipboard icon next to the checkpoint ID you wish to use as the model for your batch job. This will copy the checkpoint ID to your clipboard. Then, go to the Batch Manager and set up a new job. Before starting the job, set the Fine-tuned checkpoint field in the Create Batch Job panel to the ID of your model’s checkpoint (by pasting the copied ID, for example).