While the APIs work with both pre-recorded and live videos, the workbench only works with pre-recorded video files.
1. Access the Workbench
Login to Console
Use your API key and log into the Console. Click on “Workbench” in the navigation bar.
Make sure you have an active API key for the Archetype platform, and you’re able to log in to the console. If you have any problems, please contact [email protected].
2. Select a Lens
In the Workbench, the Lens name appears at the bottom of the screen. Click the name to open a tray showing all lenses available to your organization.3. Upload Your Video
The Workbench works with pre-recorded .mp4 video files for analysis.Download Sample Video
Download our sample dashcam video to follow along: Ring_Dashcam_Traffic.mp4. Or upload your own video file using the file selection in the top right of the input panel.
4. Set Your Focus and Instructions
Configure how the Activity Monitor lens analyzes your video by setting focus and providing custom instructions.Set Instructions
In the instructions field, copy and paste these instructions for the Ring video analysis:You can also customize the Instructions to fit your use case—for example, by asking Newton to focus on specific aspects or answer targeted questions. For details on advanced parameters, see the Activity Monitor Lens section in Core Concepts.
Add Focus
Type your focus in the bottom input bar. Focus is a runtime control that allows you to narrow analysis to specific behaviors or conditions.For the Ring_Dashcam_Traffic video, try the focus of “safety hazards”.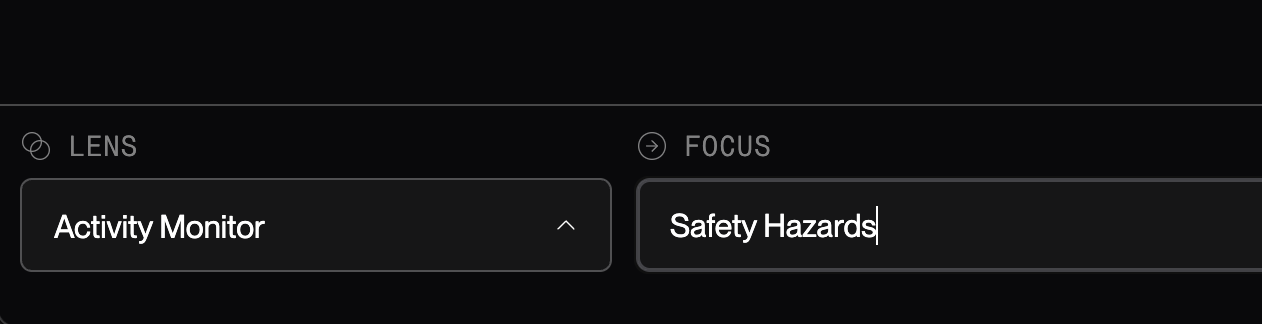

5. Start Your Session and View Results
Run Session
Begin the analysis by clicking the arrow button in the bottom right of the screen to start the session. The session will begin processing your video with the selected lens and focus.
View Results
Once the session is running, you’ll be able to see output from the lens within the output panel. Click a message to view its corresponding video segment. A pill expands with a looping playhead. Click the video to close the pill and return to the main view. The output text will look something like this:
Access Developer Logs (Optional)
For debugging and detailed analysis, you can view the log panel above the focus bar.
Congratulations! You’ve successfully run your first Workbench session without writing any code.
Optional: Try Variations
Using the same video (or a starter video), experiment with how Lens parameters affect the output:-
Change Focus to
Vehiclesand observe the difference. -
Edit Instructions using the template below and see how behavior and output change (A prompt best practices section is coming soon):
-
Adjust Temporal Focus to
2or20to compare shorter vs. longer time windows.
Learn More
Quickstart
Try a quickstart tutorial in the terminal to get started with video.
Lens API Reference
Ready to integrate Newton into your application? Explore the Lens API documentation